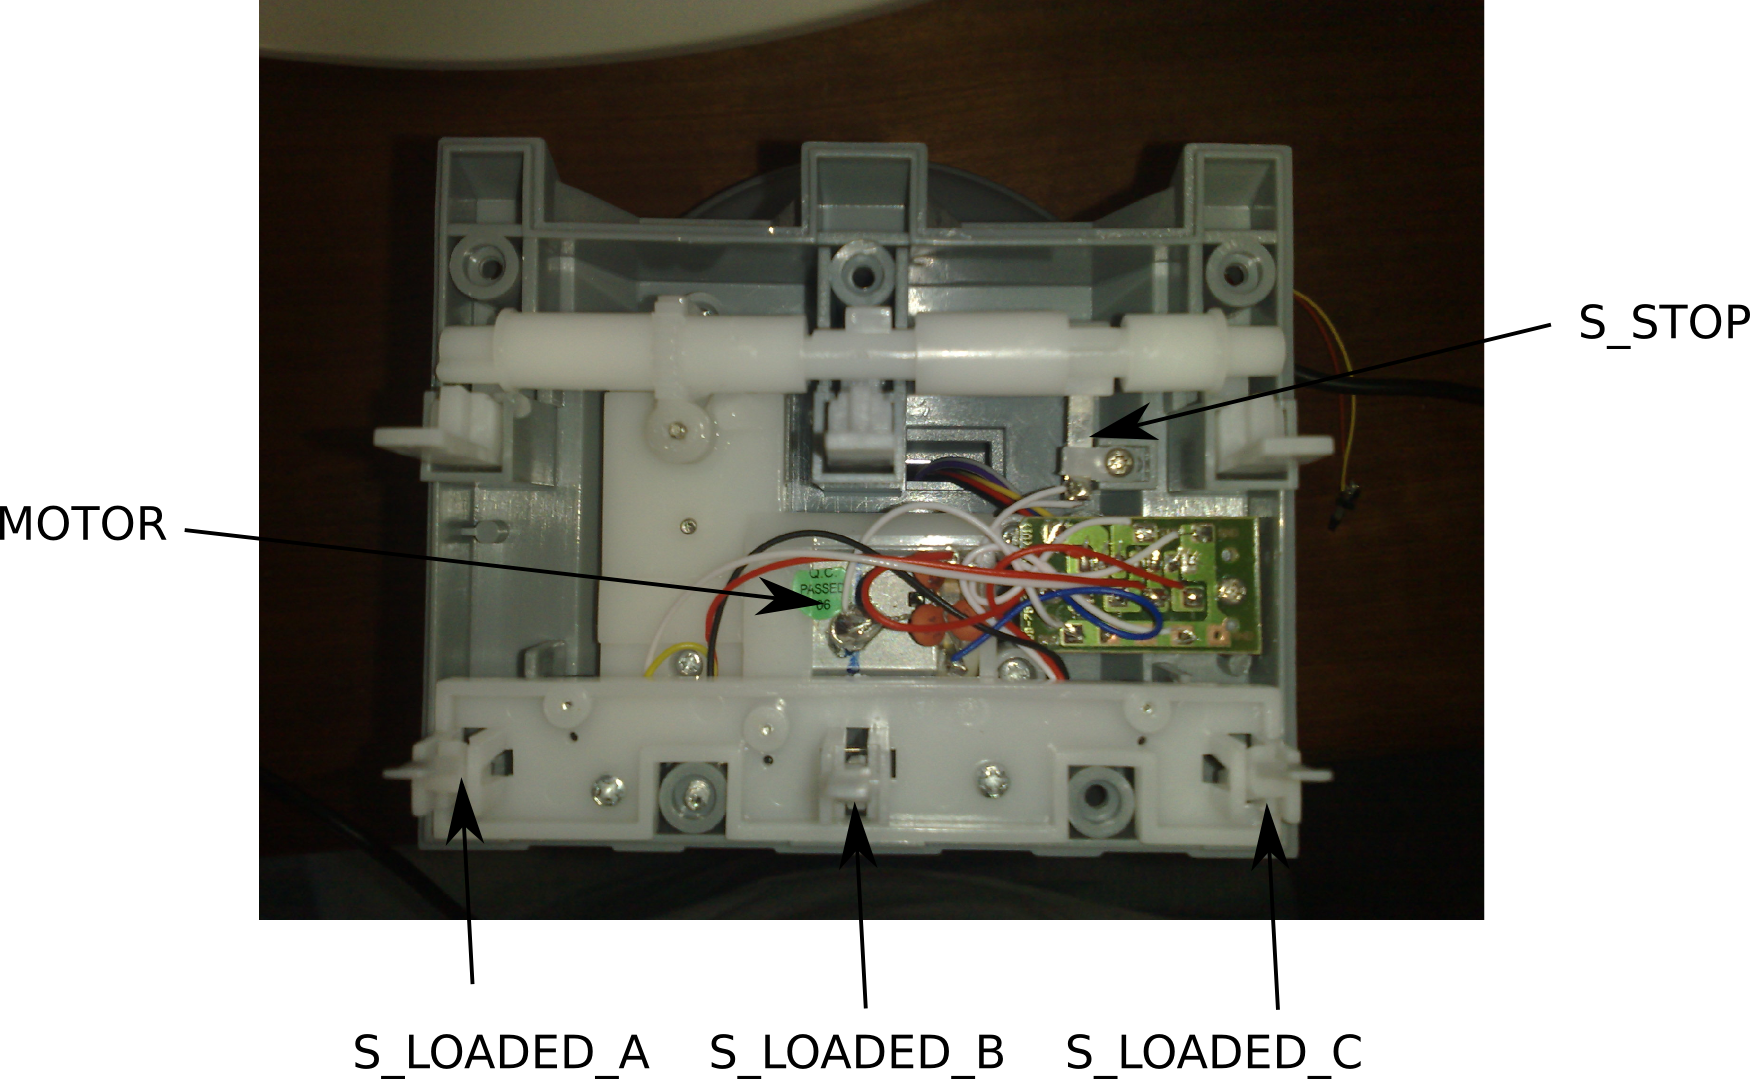
The micro switches were completely removed. To not destroy the device, the control software must be modified to take care of the mechanical limits. Additionally, we want to find a way, to control the device exactly.
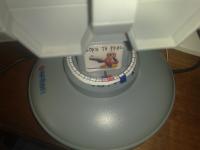 So, first of all, a scale is added to the base. I made it using Inkscape and used the star/polygon tool, “object to path” and finally modified the mid markers in of the stroke’s style to paint 36 equally distributed markers on a circle. This scale can be downloaded and printed on a simple paper InkJet-sticker to easily attach it to the future 360pano-platform.
After the turnable platform is marked at a fixed position using a black marker, we can easily read the current rotation angle in steps of 10° (and 5°), next the pymissile software is modified to turn the platform by a specified amount. This is done by simple trial and error.
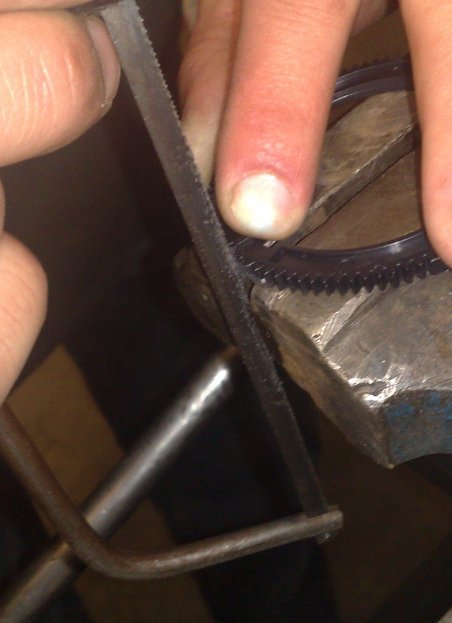
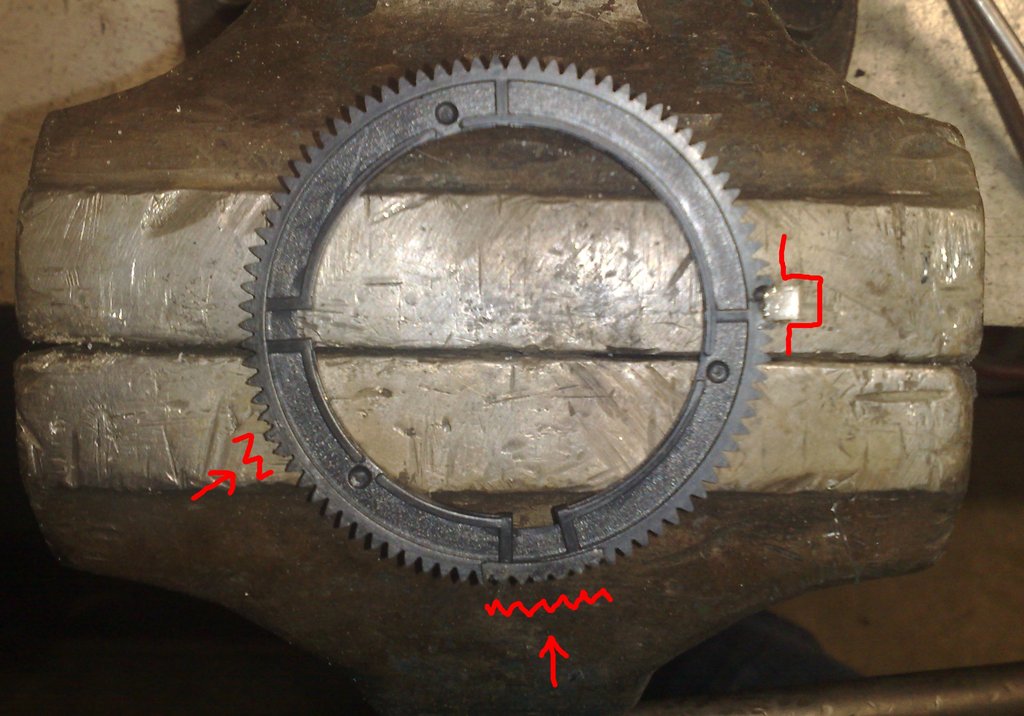
I marked the critical area (caused by the mechnial barrier to avoid multiple full rotations and twist and destroy the cables) with red color. The finally usable range is 0-320° degrees.
Software extentsion
 As mentioned before, the pymissile control is used. In recent Ubuntu versions, the software can be installed using “aptitude install pymissile” (it is always suprising what a vast variety of different software the Debian/Ubuntu repository contains. Next, instead of pymissile, we use the modified version pyusbpano.
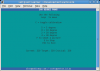
When the software is started, the calibration mode is active. The left mouse button must be pressed and held until the platform returned to the zero position. By pressing C the calibration mode is left. Next, using the keys “h” “j” “k” “l” and “z” “u” “i” “o” the platform can be turned by 5, 10, 20 or 40 degrees. The software does not execute any action, when it belives that the critical area would be reached.
Betatest
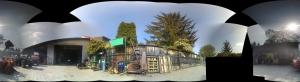
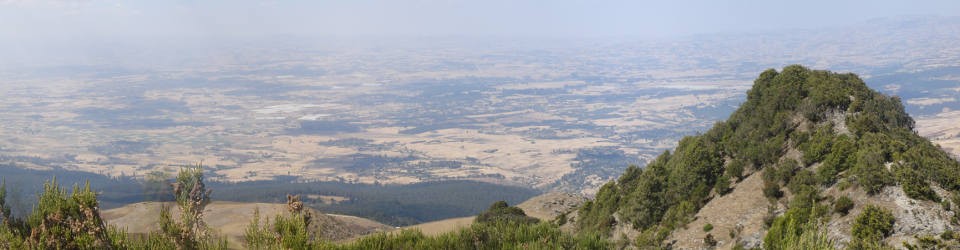
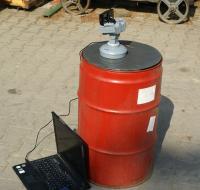 I also added a “script” (can be started using the key “g”) to aim at 3 times 9 positions (“looking” down, straight, up and turing angles 0, 40, 80, … 320 degrees). For a first test, I attached my mobile phone that is able to shoot a picture each 10 seconds.
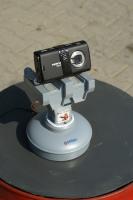
Finally these 27 pictures are stiched together using autostich. The result is already quite amazing – but unfortuately due to some timing issues, some shoots were lost.Next, I want to try to mount a CANON camera and modify the FIRE-function of the former missile launcher toy to be used as an USB remote (CHDK Wiki).